
The Creation Layout is the screen displayed when a record is being created. This screen can be customized for each record type to include fields relevant to the record.
To access the Creation Layout, navigate to the Studio and then choose the Record Builder Tile.

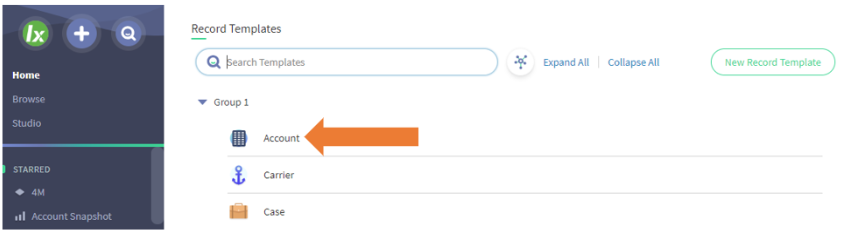
Then select the Record Type on which you’d like to institute a Creation Layout.
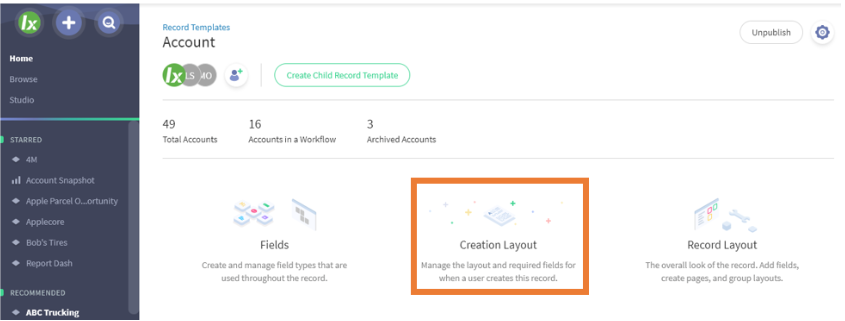
Finally, click on the Creation Layout tile.
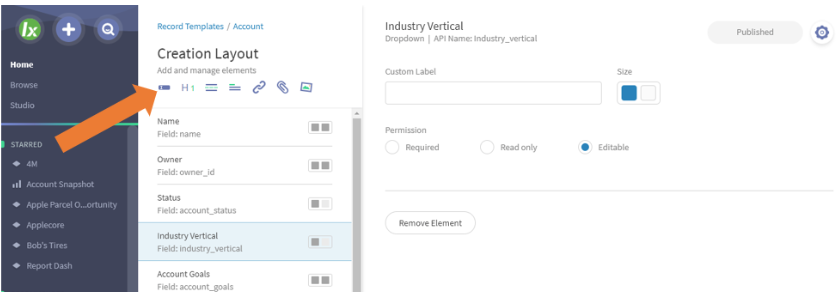
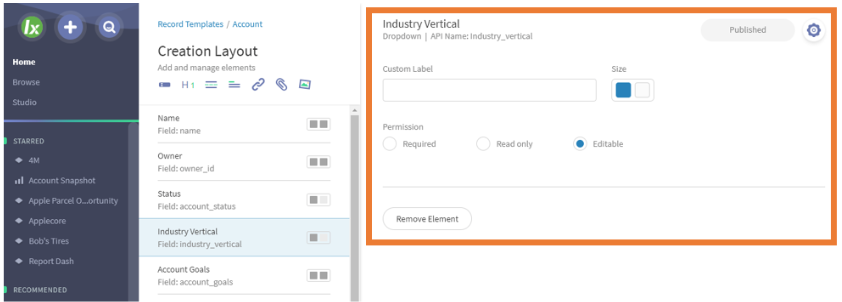
A screen will display showing the current fields available during record creation. Below, you see that when creating an account the user will be able to input the name, owner (which defaults to the user inputting the information), the status, industry vertical, account goals and a Logo image.

You can add additional fields by clicking the field button.
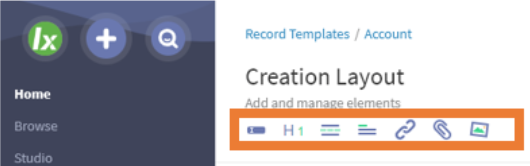
You can also add Headings, Line Breaks, Descriptions and More (Hyperlinks, Attachment or Images) by clicking the specified button.
Within the field detail panel, each field can be customized with a custom label, by the size and distinguished as either required, read only or editable. Caution on using Required, since if this is not completed, the system won’t allow the record to save, and you also don’t want your team inputting frivolous placeholders in order to complete the entry!
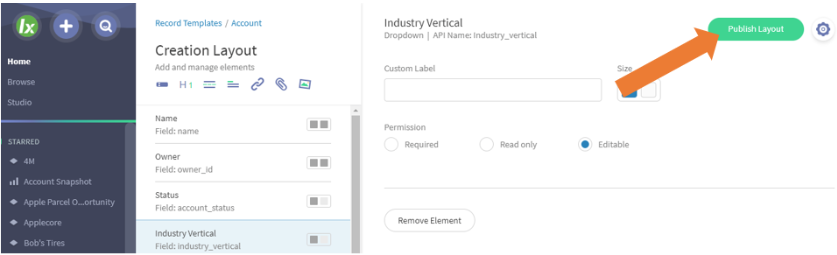
Once you’ve made changes to the layout, the Publish button will turn green, allowing you to publish the Record Creation Layout throughout the system.
How to check your new layout
The easiest way to see the new layout, is to click the Launch button from right within the creation studio! No need to navigate around.
Then choose to create a new Record for the Record Type you were editing. You will see the creation screen panel to the right and all of the fields that were included. Anything required will be marked with a red “Required” sub-label.

Comments
0 comments
Article is closed for comments.