
Launching Workflows
Once you’ve accessed a record, you can launch a workflow by clicking the “View All Workflows” menu on the inner left hand panel.
Click on the desired Workflow to launch it.
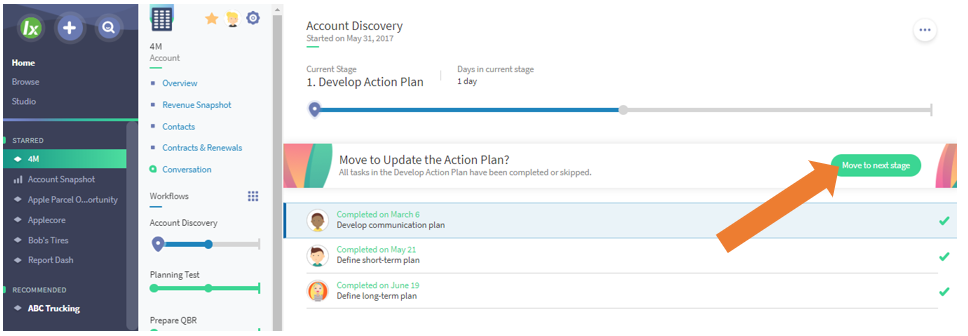
Moving to next stage
Once all tasks within a stage are completed, there will be a button to move the project into the next stage. Note that your system administrator may have opted to have the workflow move automatically to the next stage when all tasks are completed or skipped, so this may be unnecessary.
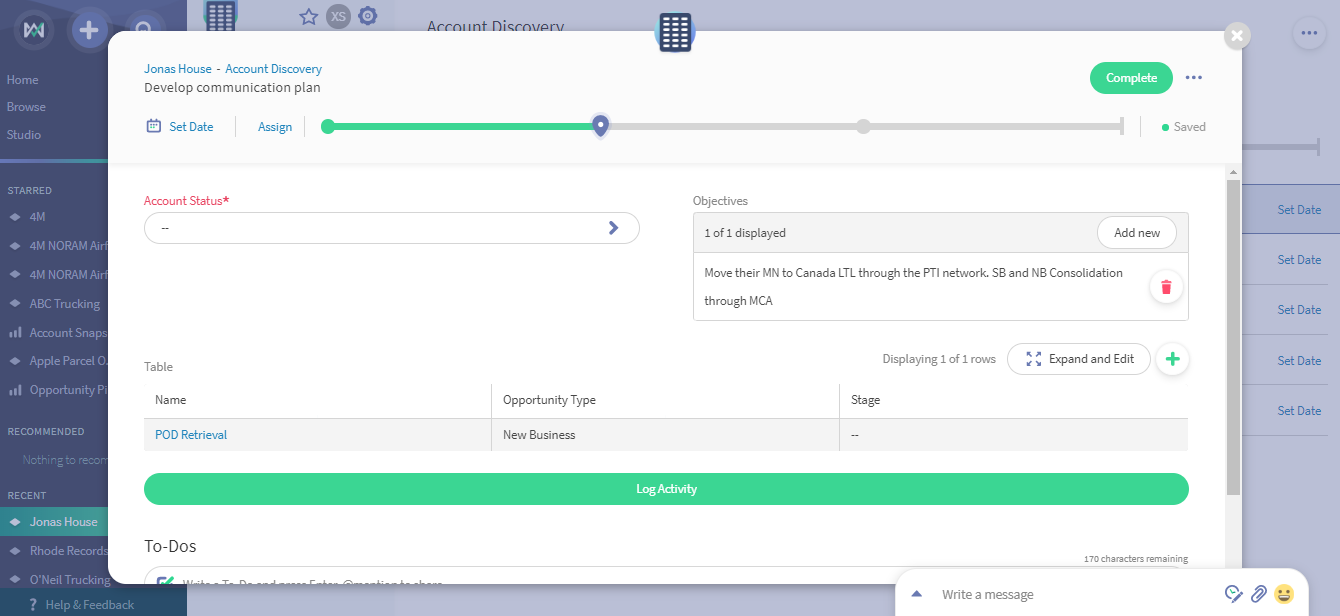
Viewing Tasks within a Workflow
The Workflow detail view shows the progress on the current stage, with tasks listed below the progress bar.
In this example we can see there are 4 tasks in this stage. The first task is completed (green) the second task is overdue (red), the third task is skipped (grey), and the final task is upcoming.

Selecting a task opens to the task modal. Here you can take action on the task. The task may involve:
- Completing Field Information
- Logging Activities
- Uploading Documents
- Simply Click Save & Complete to indicate completion.
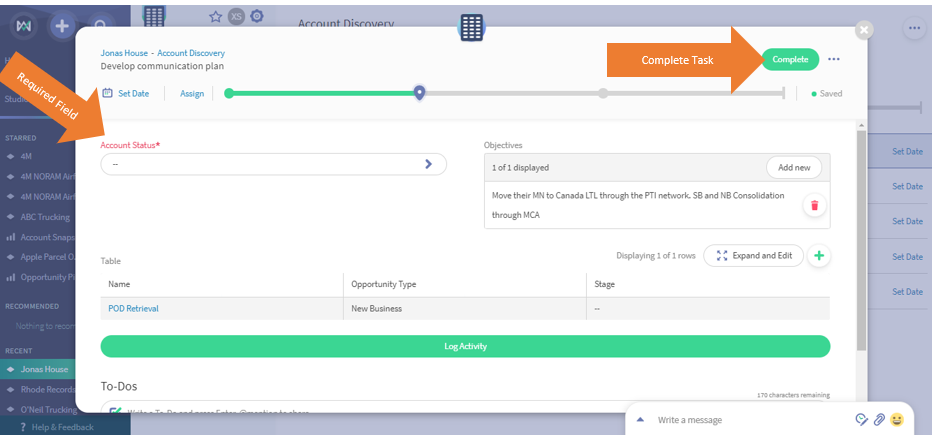
You information will be auto-saved in each field, allowing you to enter information as you have it ready and leave the task open as you need. Once you've finished the task, you will click the "Complete" button. Ensure you've filled in all required fields, or you will receive a warning message and be unable to complete the task.
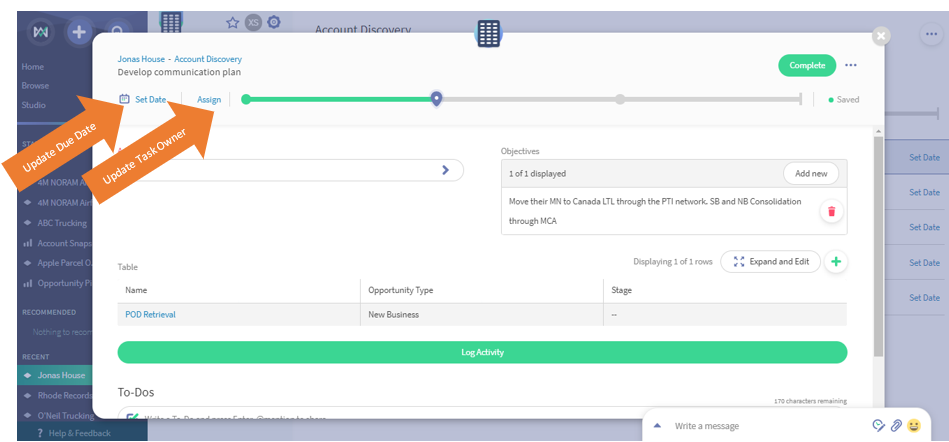
To re-assign a task owner or to update the due date, click either of the blue hyperlinks to update the information.
Comments
0 comments
Please sign in to leave a comment.